DIY Coffee Table
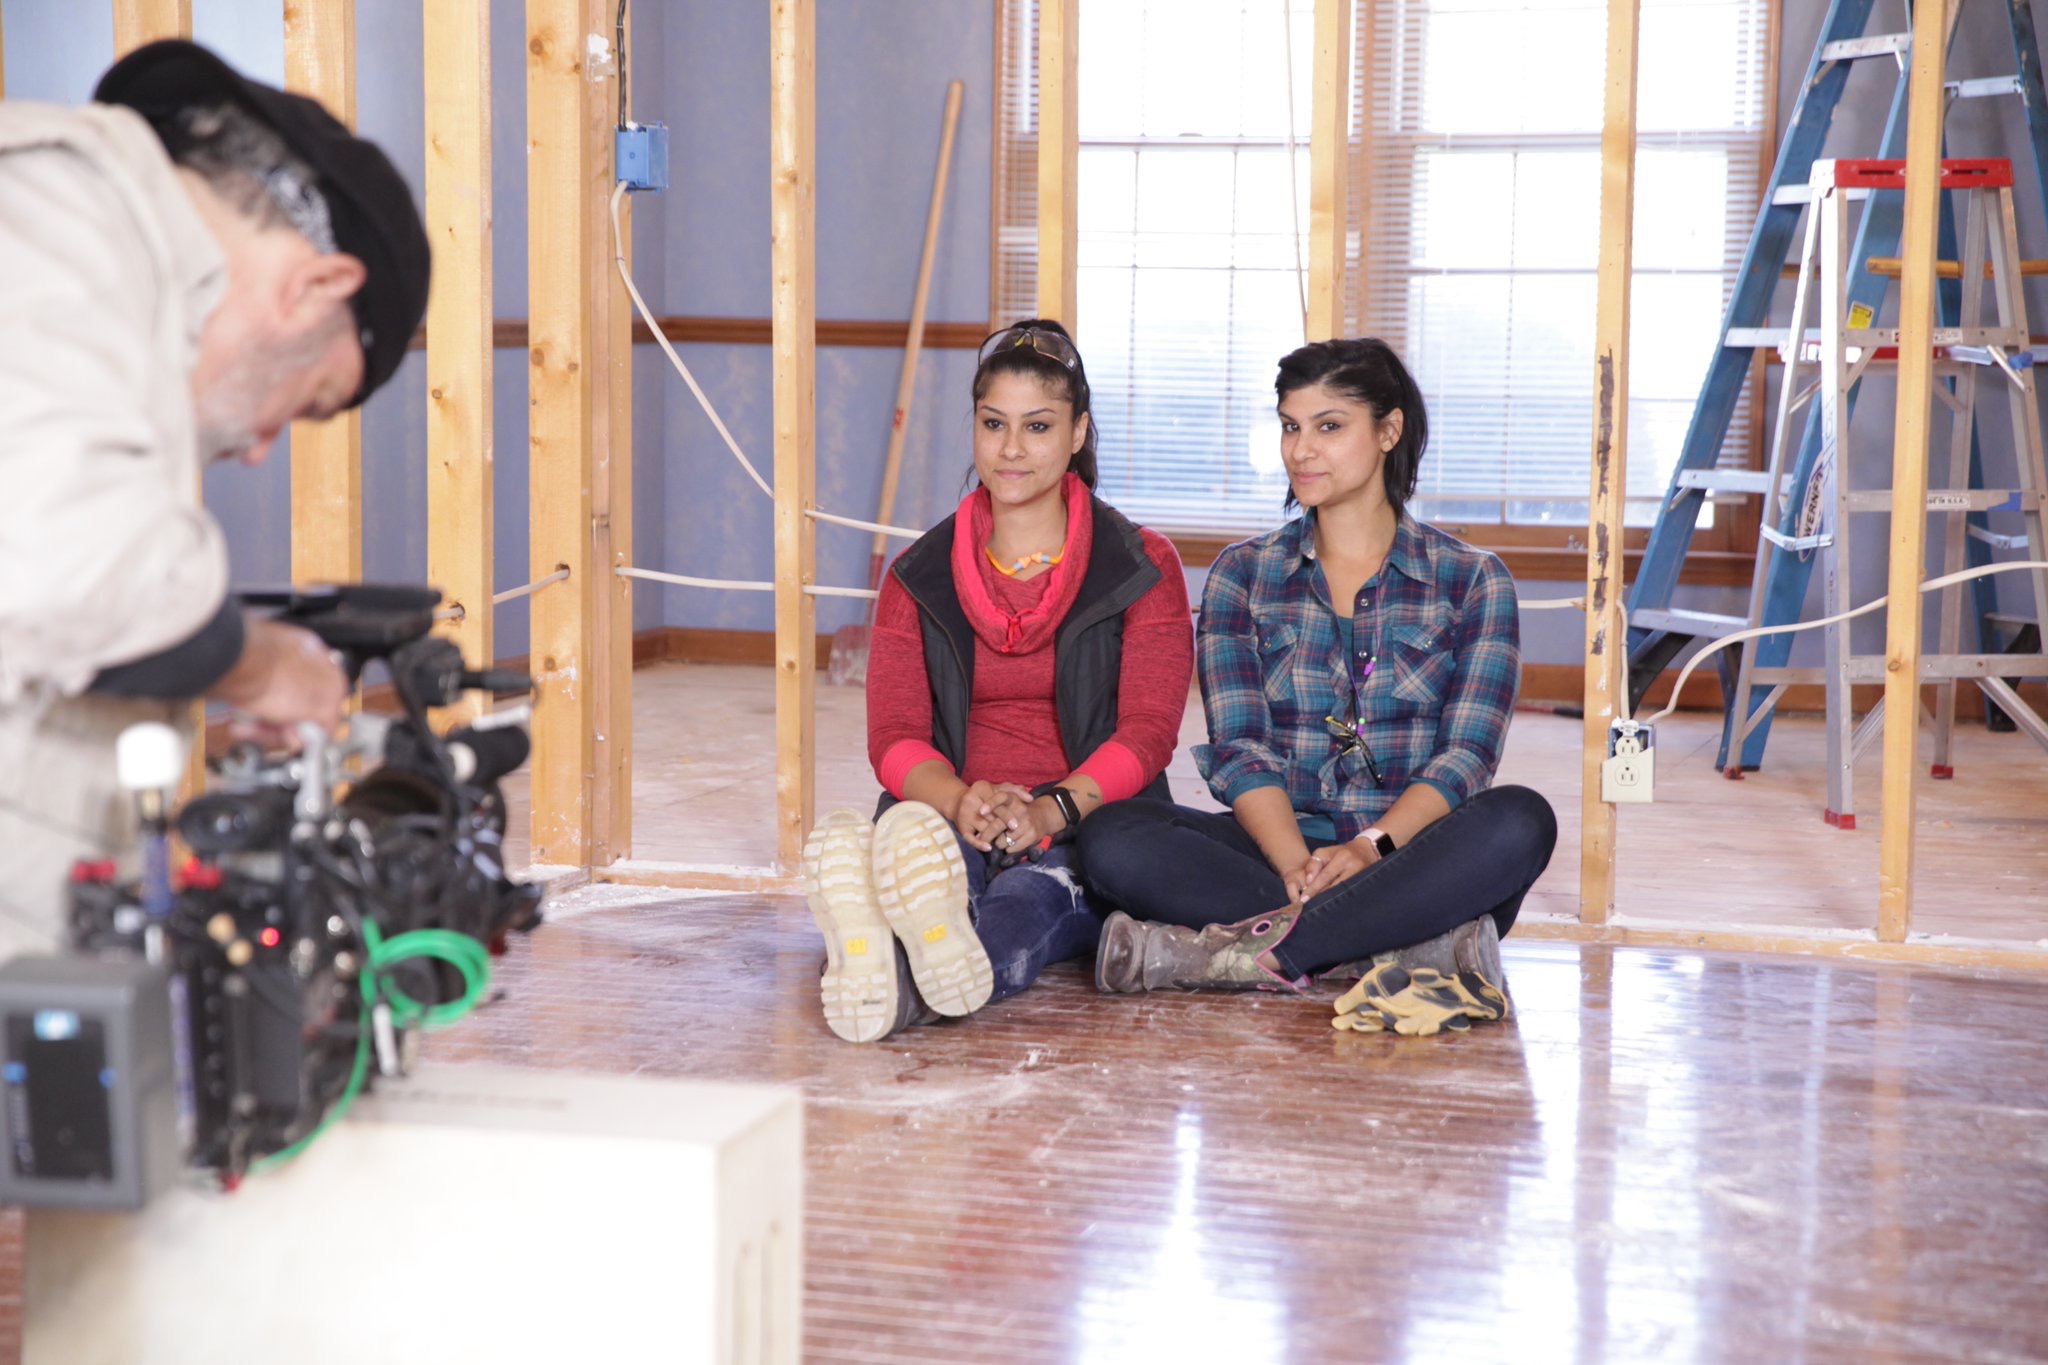
Hey Friends! So I used to have a cute vintage coffee table with a glass top, however during the bottle flipping craze of 2017 my 12 year old son broke it while flipping a gatorade bottle! #momlife But since I'm a laid back mama I just saw it as an opportunity to build a new one! Disclosure: I am not a wood worker! I just like to use tools and do my best to make awesome things! We actually made this exact table on episode 5 of Listed Sisters for our super sweet client. All for under $100! Ka-ching!
Ok Things you'll need, keep in mind size will depend on your personal space. I made mine 38x20in. Using a 2x10 you could go more narrow and use a 2x8.
- 1 2in x 10in x 8ft piece of pine cut to your desired length. They can usually cut it at your local hardware store. I had them cut it into 2 pieces at 38" each
- 1 long piece of lattice cut into two 38.5in pieces and two 23in pieces this trims out the table. Gives it a more finished look.
- wood glue
- wood filler
- putty knife
- stain color of your choice I used classic grey because I had extra laying around and I love it!
- polyurethane
- foam brush
- Strap ties
- screws
- sandpaper coarse to use first and fine grit to finish
- hair pin legs ( I got mine on Amazon, you can try an antique store they may have some from an old table)
They will most likely cut the wood to size for you at a lumber store, I went to Home Depot. Just be sure its exact! The lattice you want a little longer and you can sand it down to fit around the table. It gives the table a more finished look.
Use a generous amount of wood glue, to attach the two pieces of wood together. Scrape off the excess. Clamp it in the center! After it dries glue the lattice around the table. In addition to the glue I used a couple screws to hold the lattice on. Let dry.
After all the glue is dry this table should be super sturdy. Use a putty knife to fill all the gaps with wood filler, the sides and the center. Scrape off excess.
So close to the finish line now! After the wood filler dries, sand the whole table with a coarse sand paper. Follow that with a fine grit I used 220. You can hand sand if you don't have an electric sander! Make sure all the dust is off. Stain underneath first. I added additional support with the support ties. Then attached the legs. Flipped it back over and applied a couple coats of stain to the top letting it dry between coats. Read the instructions on the can!
Once it's been stained to your ideal color, seal it! Apply the polyurethane. Do this outdoors or well ventilated area. Again read the instructions!!
Then BAM! Coffee table!


